|
| PL Lighting Series |
 |
 |
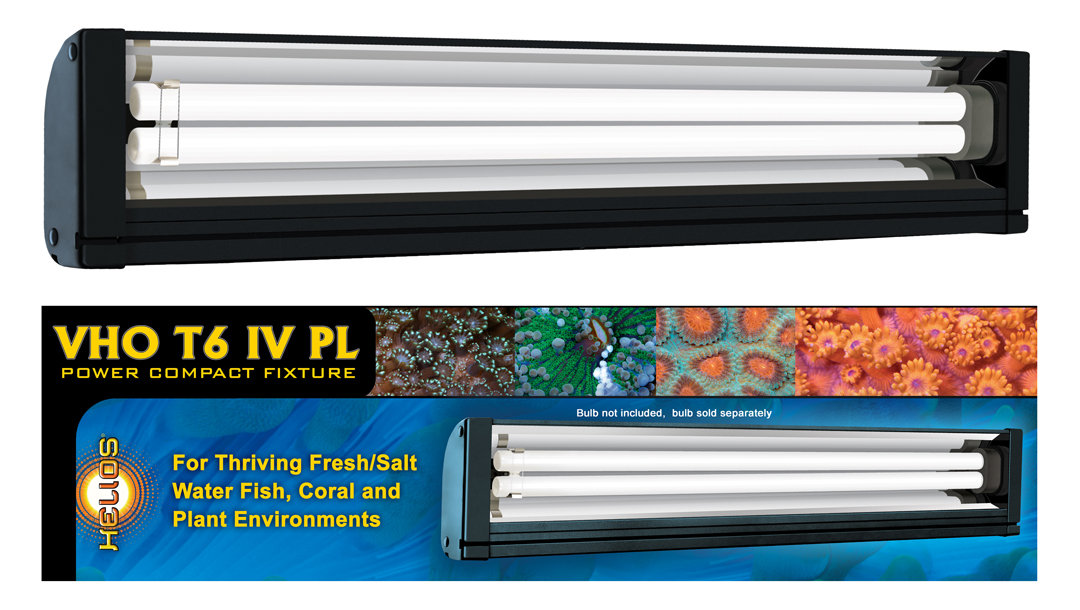
| VHO T6-IV PL Power Compact Fixture |
- High performance fluorescent light fixture
- Modular extruded aluminum hood
- Ultra bright lumen enhancing polished aluminum parabolic reflector
- VHO electronic ballast
- Low operating temperature
- Moisture resistant end-caps
- Lumens output comparable only to metal halides
- Compact design
- For thriving fresh/marine fish, coral and plant environments
- Bulb not included. Bulb sold separately.
|
|
|
| |
- Models
- Installation
- Replacement Bulb
| Item no. |
fixture size |
Fixture dimension |
bulb size |
wattage |
UPC# 0069037 |
| VHO T6IV PL 55 |
55w - 15in. |
15 x 5.25 x 2.25 in. |
55w - 13in. |
55w |
2908 6 |
| VHO T6IV PL 75 |
75w - 20in. |
20 x 5.25 x 2.25 in. |
75w - 18in. |
75w |
2909 3 |
| VHO T6IV PL 90 |
90w - 24in. |
24 x 5.25 x 2.25 in. |
90w - 22in. |
90w |
2910 9 |
| VHO T6IV PL 120 |
120w - 30in. |
30 x 5.25 x 2.25 in. |
120w - 28in. |
120w |
2911 6 |
| VHO T6IV PL 150 |
150w - 36in. |
36 x 5.25 x 2.25 in. |
150w - 34in. |
150w |
2912 3 |
| VHO T6IV PL 200 |
200w - 48in. |
48 x 5.25 x 2.25 in. |
200w - 46in. |
200w |
2913 0 |
|
INSTALLING THE BULB
- Remove protective plastic from the reflector.
- Slide endcaps onto the bulbs.
- Insert bulbs into fixture. Avoid a twisting motion. Place directly into the bulb socket.
- Slide the endcaps so they will cover the bulb socket
- Insert legs into the tracks on the bottom of the light fixture to elevate the hood above the aquarium.
- Plug the unit directly into a G.F.C.I. outlet
|
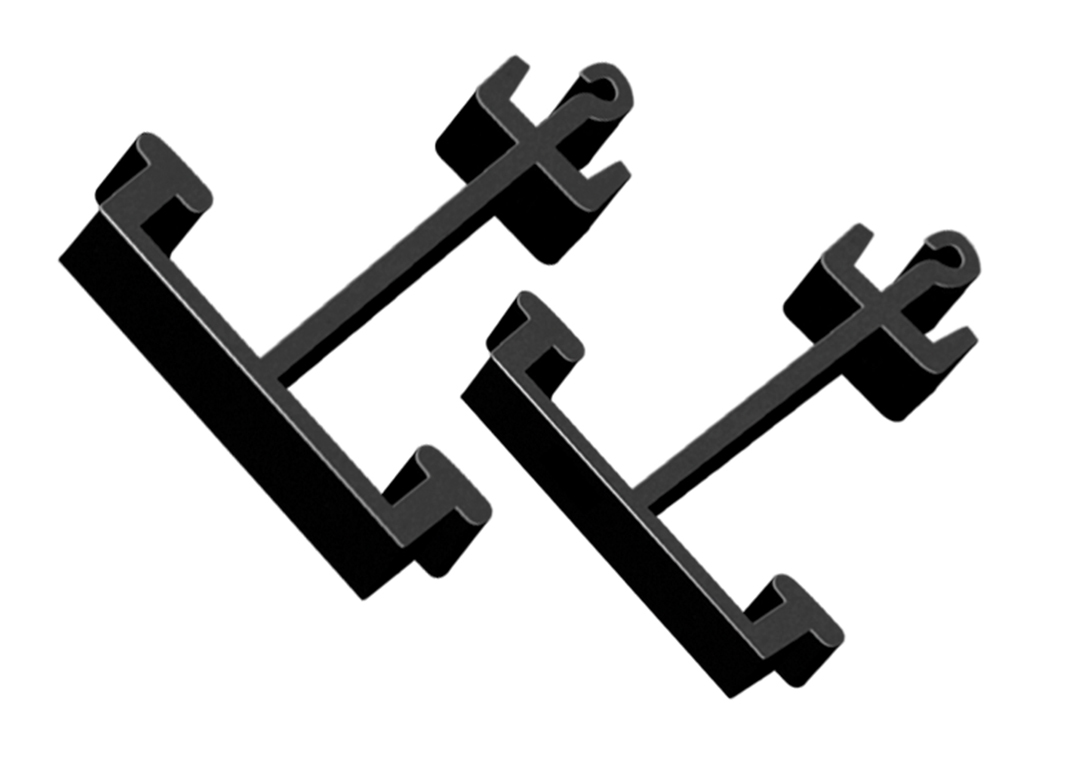
CONNECTING FIXTURES TO T-JOINT BRACKETS
Items required: T-Joint bracket
(Optional part. Sold separately)

Slide the T-Joint bracket into fixtures track. Avoid any angles. Both hoods must be level and placed on a flat surface.
The T-Joint bracket must be positioned a minimum of 4” from the end of the fixture.
Download instructions below for complete details: VHO T6 IV PL Fixture Instructions. |
| |
|
| INSTALLING FIXTURES USING LEGS |
|
- ELEVATED HOOD: Insert the legs into the tracks on the bottom of the light fixture to elevate the hood above the aquarium.
- HANGING: The T-Joint brackets enable the fixture to be hung over the aquarium. Secure the cable to the T-Joint bracket. Follow manufacturers guidelines for installation on the hanger.
|
 |
| |
|
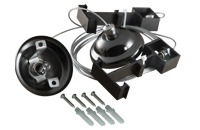
| INSTALLING FIXTURE USING HANGING KIT (NEW!) |
The Hanging Kit enable the fixture to be hung on the ceiling (Optional part. Sold Separately)
For more information go to: Hanging Kit |
 |
|
If you have problem opening PDF file from Internet Explorer,
please try Firefox or right click on the link and select Save Target As and save the PDF file in your computer. |
|
|
|
|